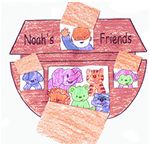
Many Free Bible Story Crafts encourage cooperation or sharing, but the Noah's Ark mural requires real teamwork. One of our favorites, the mural illustrates the Ark and features the animals God sent to Noah to protect. A rainbow over Noah's Ark and all the colorful animals reminds children of God's promise.
This is a rewarding and fun art project for a kindergarten, first or second grade Sunday School class or a homeschooling family or group to create together. If your group is large, consider making murals in small groups. You may end up with 2, 3 or 4 murals, but it will be easier for the kids to collaborate this way.
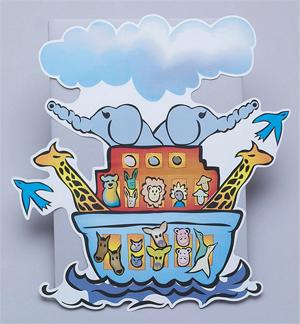
Noah's Ark crafts are usually sure hits with little ones because for one, it's a great story with a happy ending, and for another - the animals!
Since Noah's floating zoo mural is a group project, "teacher's prep" takes on a new meaning. If you've taught young children for long, you know how good planning can make the difference between fun and pandemonium!
On a similar note, allow more than one class period to complete the Noah's Ark mural. If possible, divide up this Bible lesson of obedience, faith and God's promise so that the craft steps coincide with the parts covered that day.
Bible Story Crafts Supplies
* Roll of butcher paper (newsprint could also be used but butcher paper is stronger and white instead of brown)
* Markers and/or paints
* Painting smocks/old shirt
* Glue sticks
* Scissors
* Pictures of animals (nature and kids magazines as well as coloring pages printed from the computer are good resources)
* Tape
Round up the Animals!
Children can color in animals on coloring pages and search through magazines, cutting out pictures. Some of the kids may want to draw their own on the mural, which will add a nice touch of originality.
To create pairs of animals when only one animal picture was found: Photocopy singles and then color.
To add Noah and his family, color pages from a Noah's Ark coloring book and cut out.
Teacher Prep
Spread out the butcher paper and tape to the floor. Or tape to the wall at a comfortable height for the children.
Draw the ark, which will take up most of the mural. Leave room for the rainbow above and water below. Prepare for the animals by drawing several, good-size windows and plenty of deck space and/or large plank.
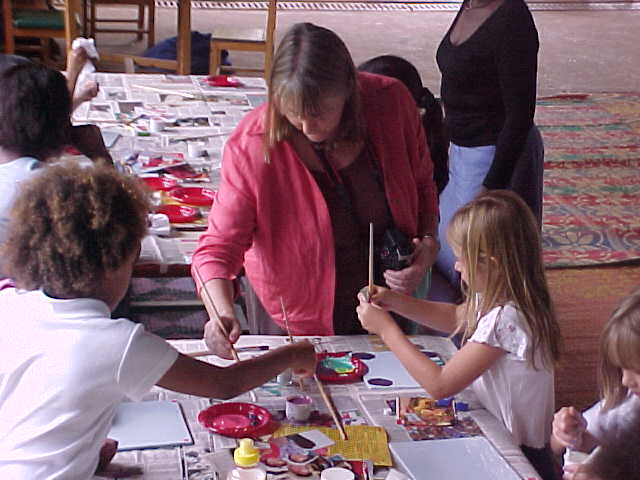
Completing the Mural - All Hands on Deck!
1. To begin, assign individuals or small groups various parts of the Ark to paint or color.
2. Have children arrange their animal pairs on the Ark (no glue yet), experimenting with various locations.
3. Once it's decided where the animals will go, leave them in place so it's not forgotten, picking up just to apply glue.
4. Add Noah and his family.
5. Talk the kids about rainbows and the colors a rainbow has. Then have them add the rainbow. If using paints, they'll probably need to let one color dry before adding another one so they don't run together.
6. Add the water by painting blue waves.
7. Discuss any details that may be added, such as a sun or a memory verse.
8. The only thing left to do is for the artists to sign the mural and invite their others to take a look!
Crafty Variation
If you have lots of time set aside to spend on Noah's Ark, the kids could glue large, craft sticks onto the Ark. The craft sticks will resemble the planks that we see in many of the pictures of the Ark. Memory verses that relate to this story of can be written on some of the craft sticks.


0 comments:
Post a Comment